
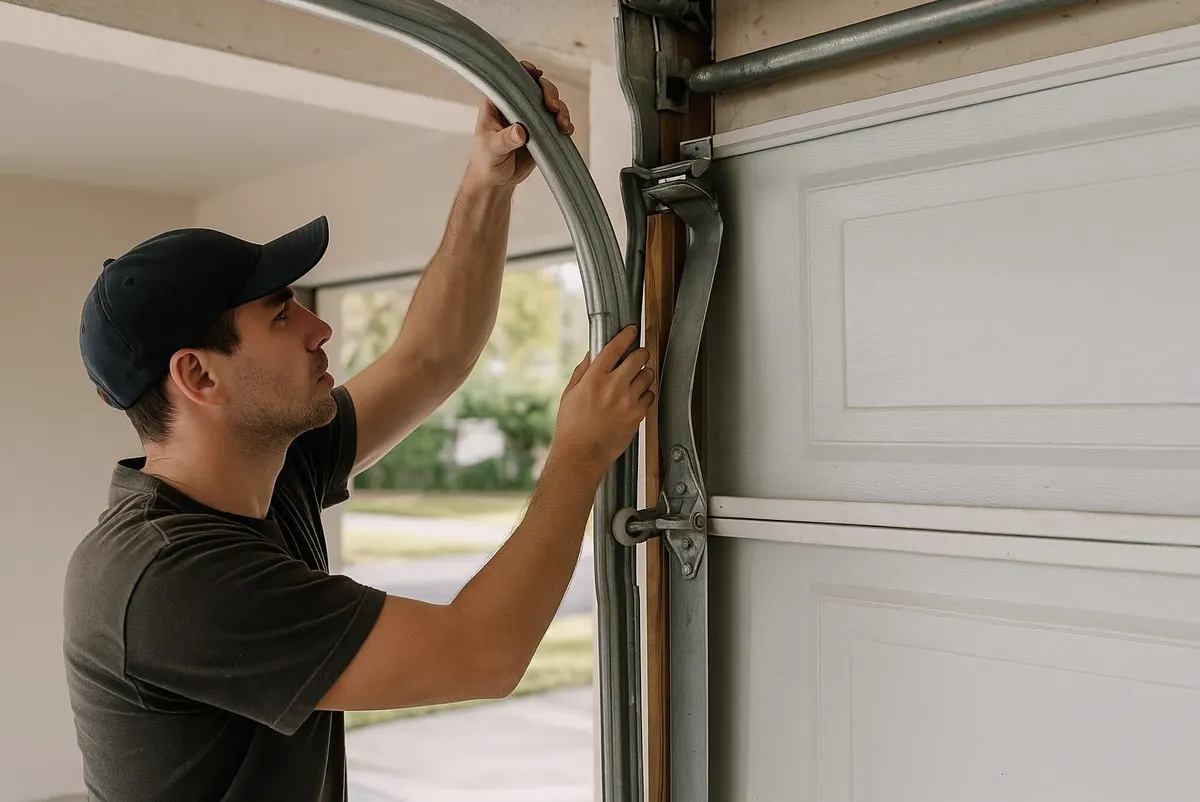
A worn-out bottom seal or weatherstripping is one of the cheapest, fastest fixes in home maintenance. A new bottom seal typically costs under $30 and takes less than an hour to install with basic hand tools. If cold air, water, leaves, or mice are getting into your garage, this is almost always where to start before you spend money on anything bigger.
Why This Matters More Right Now
Stark County winters bring ice, road salt, and melting snow that all funnel straight toward your garage door. A cracked or flattened bottom seal lets that slush and salty water pool under your door, which speeds up rust on the bottom panel and the track hardware. Add in the big seasonal swings we get between humid summers and frozen winters, and rubber seals that were fine in July can be brittle and cracked by November. Dust, dry leaves, and mice looking for a warm spot in the fall only make the case stronger to check this before the first hard freeze locks everything in place.
How to Tell It's Time
You don't need a technician to spot the warning signs:
- Daylight visible along the bottom edge when the door is closed
- A draft you can feel with your hand along the floor seam
- Water, grit, or leaves collecting just inside the door after rain or snowmelt
- Cracked, flattened, or brittle rubber that no longer springs back when pressed
- Gaps along the side or top trim where the weatherstripping has pulled away or shrunk
Tools You'll Need
- Tape measure
- Utility knife or scissors
- Flathead screwdriver or pry bar (for T-style or retainer-track seals)
- Replacement bottom seal (bead, T-style, or flush-mount, matched to your track type)
- Replacement weatherstripping strips for the side and top jambs, if needed
- Mild soap and water, plus a stiff brush
- Work gloves
Step-by-Step: Replacing the Bottom Seal
- Open the door and identify your seal type. Most residential doors use either a bead-style seal (a bulb-shaped rubber strip that slides into a retainer track) or a T-style seal. Note which one you have before buying a replacement, since they are not interchangeable.
- Clean the bottom panel and track. Use soap, water, and a stiff brush to clear off old rubber residue, dirt, and rust flakes. A clean track lets the new seal slide in smoothly and seat properly.
- Remove the old seal. Pull the old bead or T-style strip out of the retainer track by hand, or pry it loose with a flathead screwdriver if it's stuck or hardened.
- Measure and cut the new seal. Measure the width of your door and cut the new seal about an inch longer than needed, so you have a little slack to work with.
- Feed the new seal into the track. Starting at one end, work the bead or T-edge into the retainer channel, sliding it along the full width of the door. This is easier with two people, one feeding and one guiding.
- Trim the excess. Once it's fully seated, trim both ends flush with a utility knife.
- Close the door and check the seal. With the door closed, look for daylight gaps and press along the bottom edge to confirm even contact with the floor. On an uneven garage floor, some gap at the corners is normal, but the center should sit flush.
Step-by-Step: Replacing Side and Top Weatherstripping
- Pull the old strip off the jamb. Most stick-on or nailed-in weatherstripping comes off by hand or with a flat pry tool.
- Clean the jamb surface. Remove old adhesive residue so the new strip sits flat and seals properly.
- Measure and cut new strips for both sides and the top header.
- Attach the new weatherstripping, pressing firmly along the full length so there are no bubbles or gaps, and nailing or screwing it in place if it's not a peel-and-stick type.
- Test for even contact by closing the door and checking for light or airflow along the full perimeter.
What's DIY and What Needs a Technician
Replacing a bottom seal or side weatherstripping is well within reach for most homeowners with an hour and basic tools. Where it's worth calling in a professional:
- The bottom panel itself is bent, rusted through, or warped, so a new seal won't seat correctly no matter what you do
- The garage floor has settled or cracked unevenly, leaving a gap no standard seal can close
- You notice the door is also off track, binding, or struggling to open smoothly, which points to a bigger issue than the seal
- The track retainer channel is damaged or missing pieces
When to Call Canton Garage Door
If you've replaced the seal and still have gaps, persistent water intrusion, or a door that doesn't sit flush, it's worth having it looked at. Our technicians handle this as part of routine Garage Door Maintenance visits, where we check the seal fit, track alignment, and panel condition together, since a bad seal is sometimes a symptom of a bigger alignment problem. If the bottom panel itself needs attention, we can also talk through options as part of a Garage Door Repair visit rather than guessing at parts.
If drafts, water, or pests are getting into your garage this season, give Canton Garage Door a call. We serve Canton, Massillon, North Canton, Louisville, Jackson Township, Green, Alliance, and Hartville, and we're happy to take a look before winter sets in for good.